50 days of foam and block printing (and tessellation!)
Back in 2017, I completed my first 100 Day Project. This is a challenge where you pick a creative prompt and complete it every day for 100 consecutive days.
This type of challenge seriously pushes me out of my comfort zone. I’m the type of person who depends on inspiration. If I’m not inspired, things don’t get done. Or, if I have to do them, it’s like pulling teeth. What I love (and hate!) about the 100 day project is that I'm forced to create, even when I don’t necessarily want to or have limited time to do so. A lot of the results are mundane. But sometimes you come up with things that are unexpectedly magical.
I started this challenge by painting tiny canvasses: one every day. You can see the first 25 of those paintings documented here: The 100 Day Project 2017: Painting Tiny Canvases (Days 1-25). But halfway through the challenge, I changed my prompt to printing and tessellation... hence, 50 days of foam and block printing.
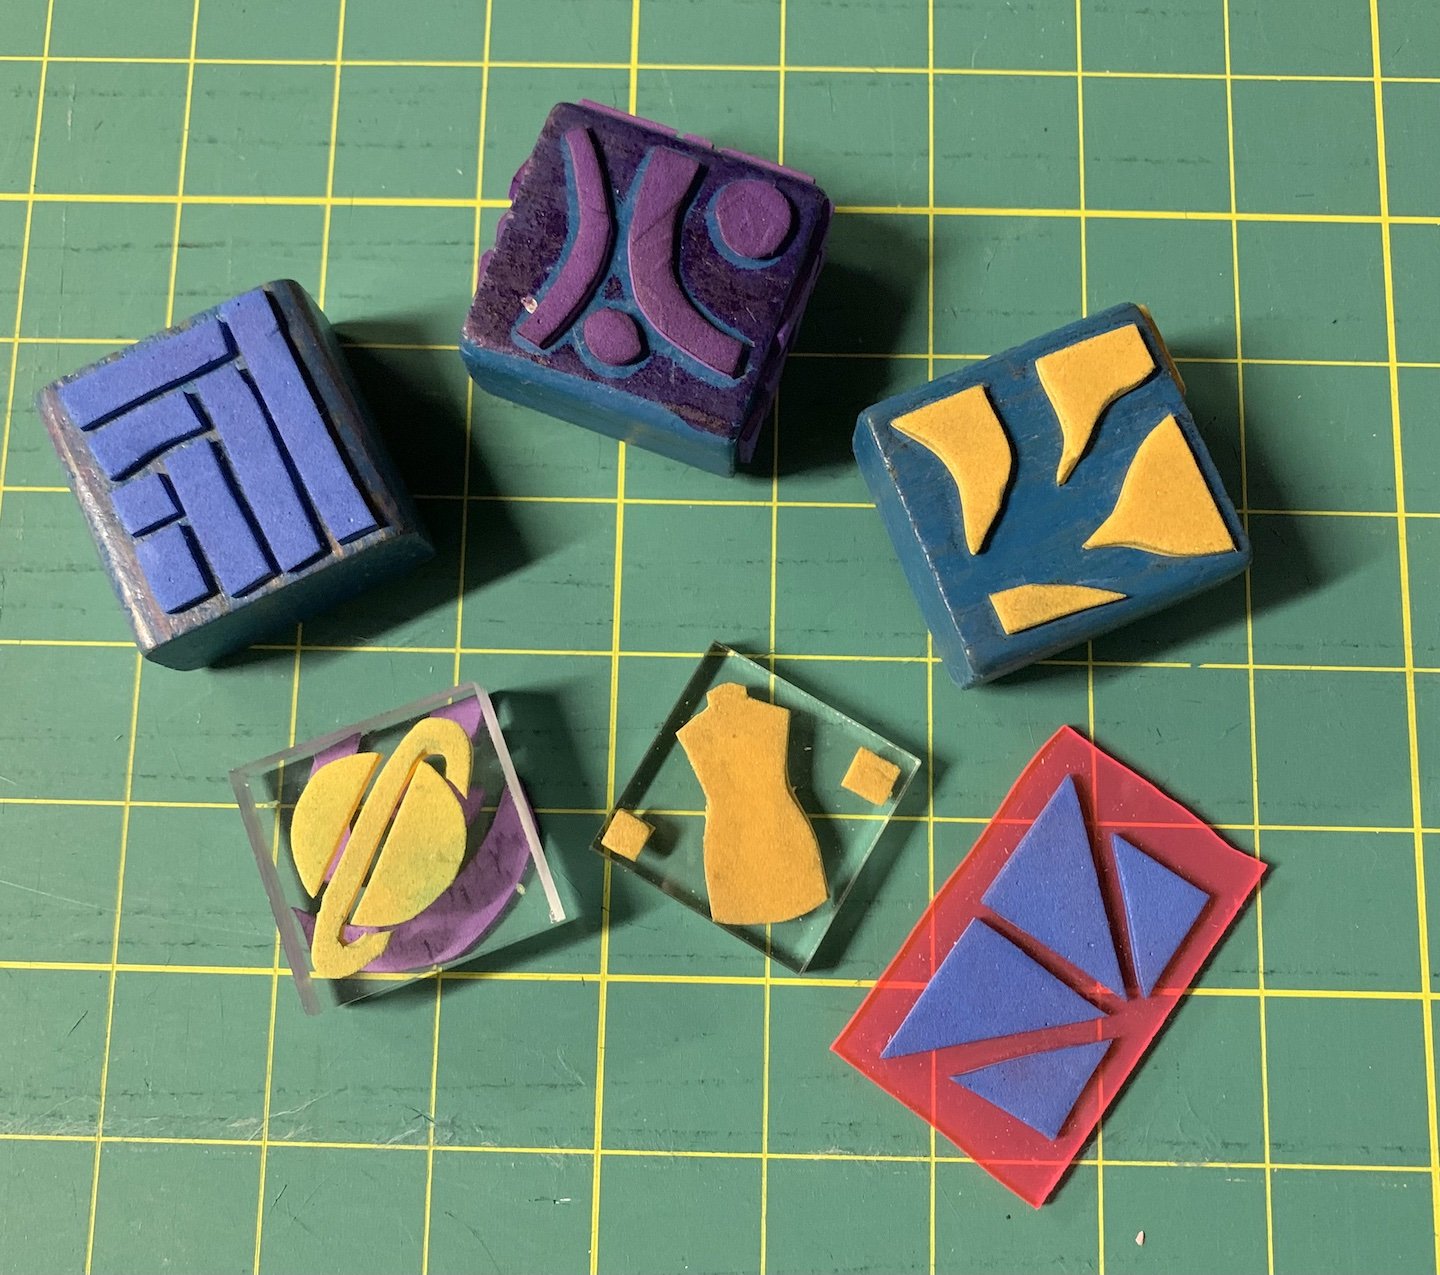
I used a few materials to make my designs: linoleum, craft foam, and soft blocks. The latter two comprised the majority of my designs and I’ll talk about them below. Each technique was inspired by a workshop I attended.
My process: Create, then tesselate.
Regardless of whether I was using foam or soft blocks, my process was the same.
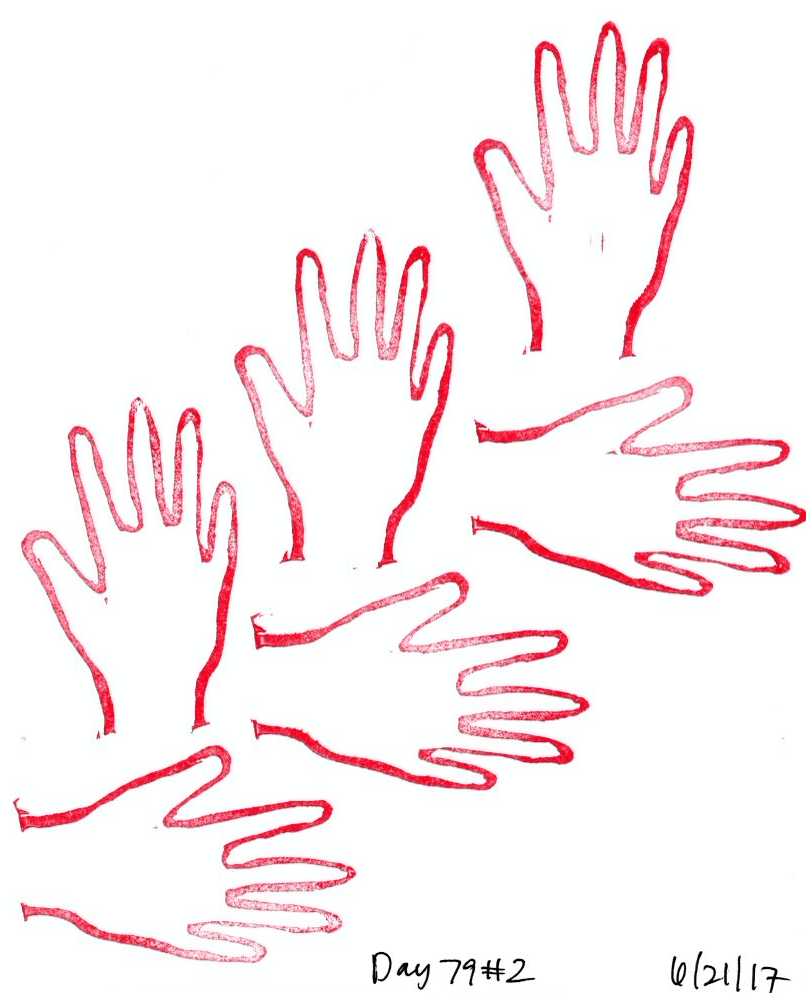
I created a design unit of some kind. Sometimes they were abstract. Other times, they were pictorial.
I hand-printed the design unit on large index cards, tessellating it. I created several of these prints each day, experimenting with grid patterns, offset patterns, rotations, and the like, to see how the unit would transform.
Finally, I chose my favorite print and upload it to IG. You can see some of the chosen variants at this IG hashtag: #allyprint.
I saved all my prints in this giant binder. And honestly, I love flipping through it so much more than viewing the ones I posted! Some of the versions looked similar no matter how I tessellated the individual unit. But others were pure magic, transforming into unexpected shapes and patterns. So. Fascinating.
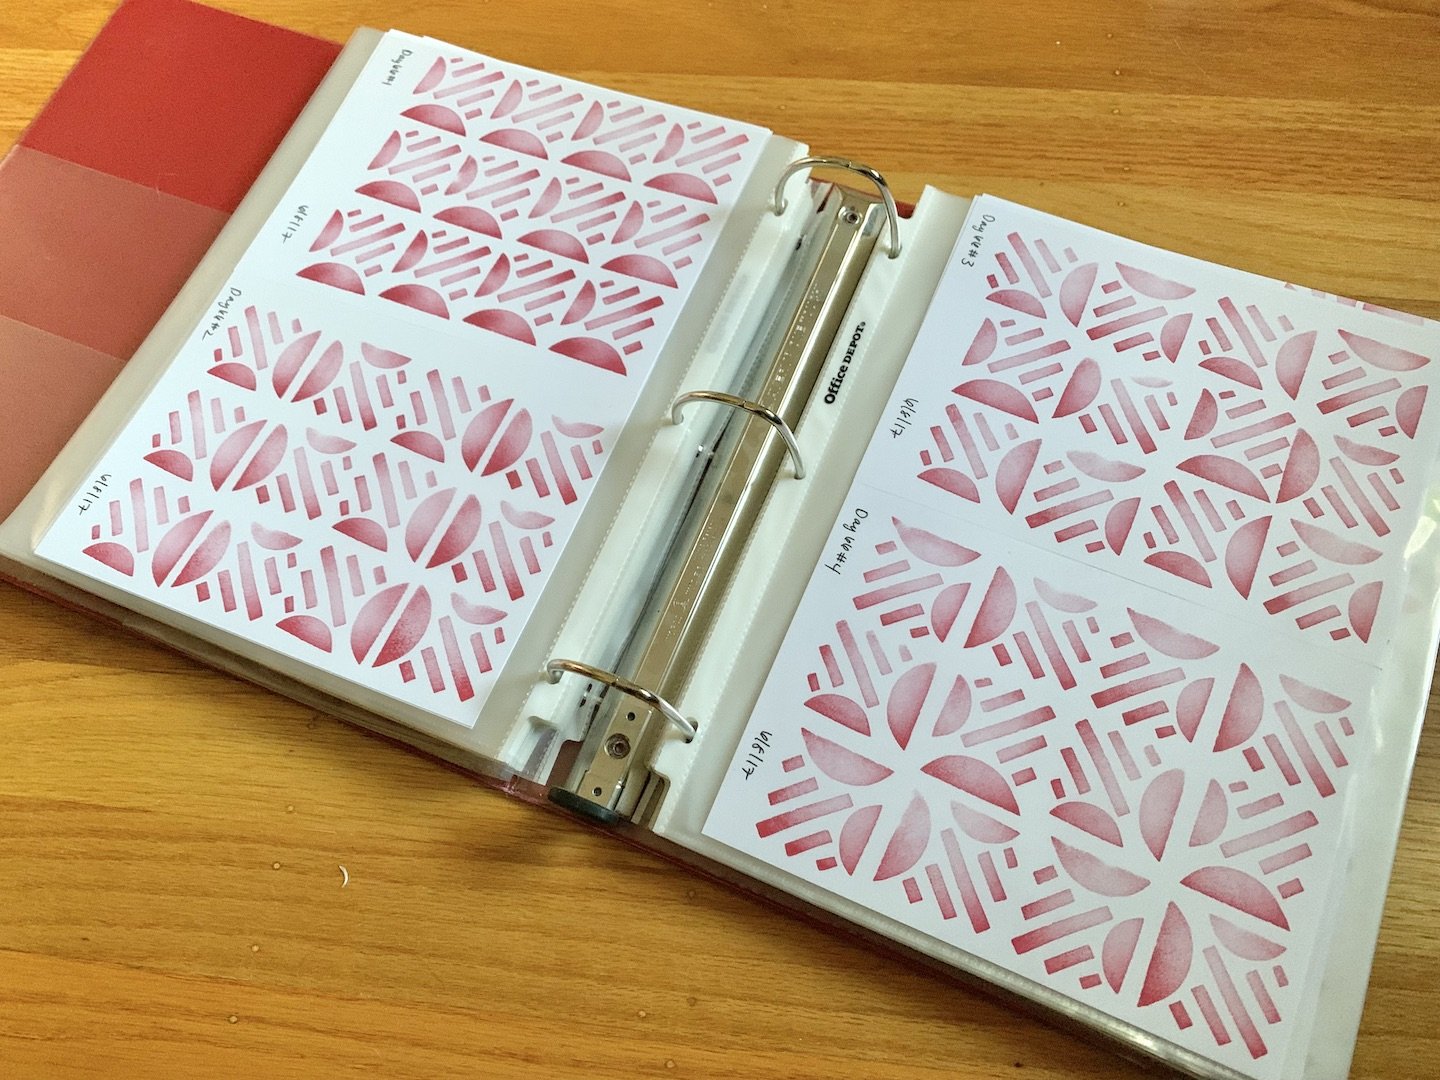
Please excuse the cat claw in the pic! 😆
Side note: If you're as interested in tessellations as I am, I highly recommend Jinny Beyer’s book Designing Tessellations.
Foam printing
I learned about this technique in a workshop at SCRAP SF. All you need is craft foam with a sticker back and something to stick it on! (I used old building blocks and clear acrylic squares, and highly recommend the acrylic since you can see through it to line up the designs.) This is a fun technique because it's low stakes and easy. The materials are cheap and if you don't like your design, you just remove the foam from the block and attach new pieces.
Through this process, I learned that white space is incredibly important: it makes or breaks a tessellation. This is true both in planning the design unit and laying out your design on paper.
Here are a few of my favorite series.
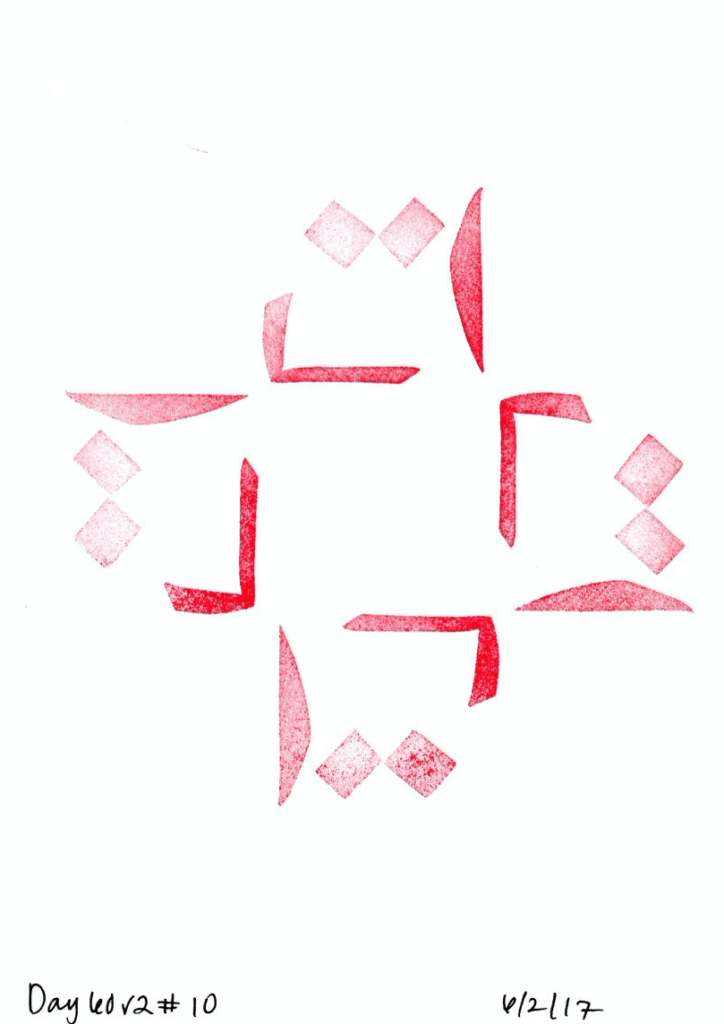
Day 60 reminds me of Arabic script which I briefly studied in college... I think it's the "L" shape and the double dots.


Day 57 is another fave. Especially that circle! So perfect and most definitely unplanned.


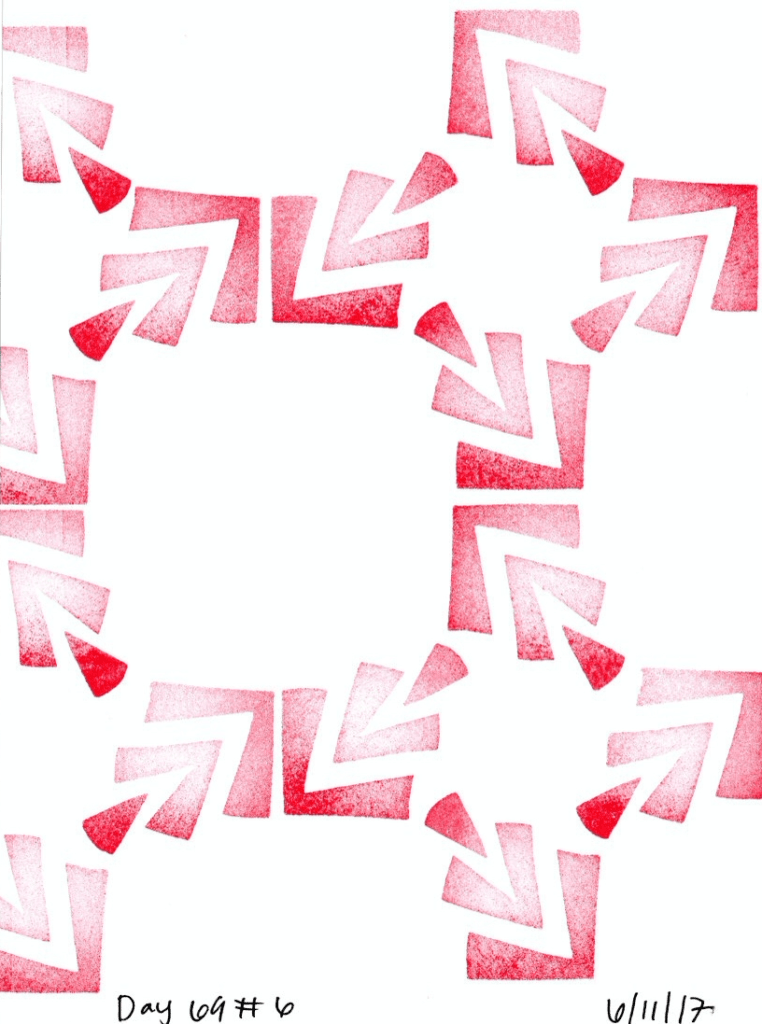
Day 69 is also beautiful. I love the texture from by the dry ink pad.


Soft block carving and printing
I took a block printing workshop at the (now closed) Handcraft Studio School in El Cerrito with the incredibly inspiring Jen Hewitt... where I made a hen.
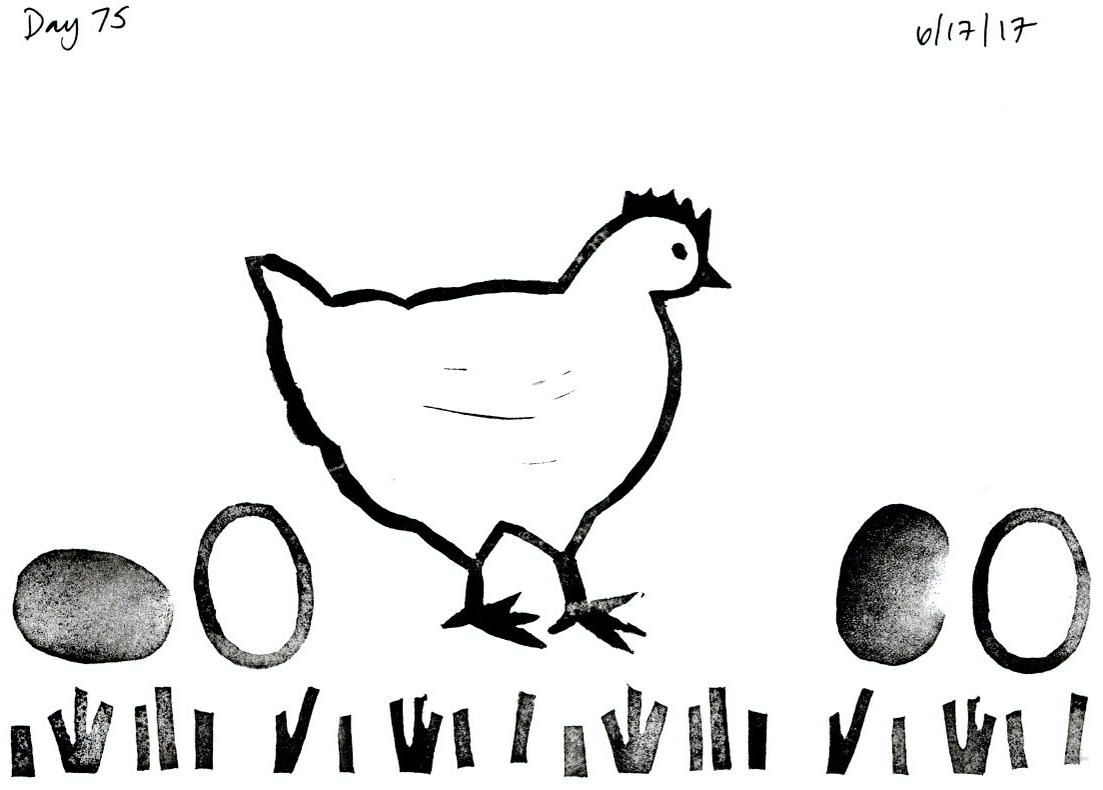
I fell in love with carving soft blocks, learned that some materials are nicer to work with than others, and gravitated towards more pictorial designs. Even though the carvings were of recognizable objects, I still tessellated them.

Here are some favorites from this technique.